ELK with JMS queue - Part I
What’s the point?
This publication is intended to simulate an environment of ingesting messages consumed from a JMS queue using Logstash and ActiveMQ.
The guide assumes that we have a Logstash installation.
Installations
- Installing the Logstash plugin to read JMS queues
logstash-plugin install logstash-input-jms

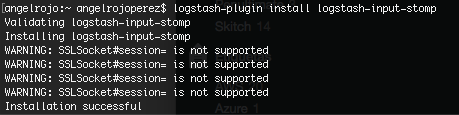
- Installing the Logstash plugin to read JMS queues with stomp protocol
logstash-plugin install logstash-input-stomp
Note: At the moment we do not know which of the two plugins we are going to use, so we installed the two plugins that allow us to read from a JMS queue
- Install Apache ActiveMQ
brew install apache-activemq

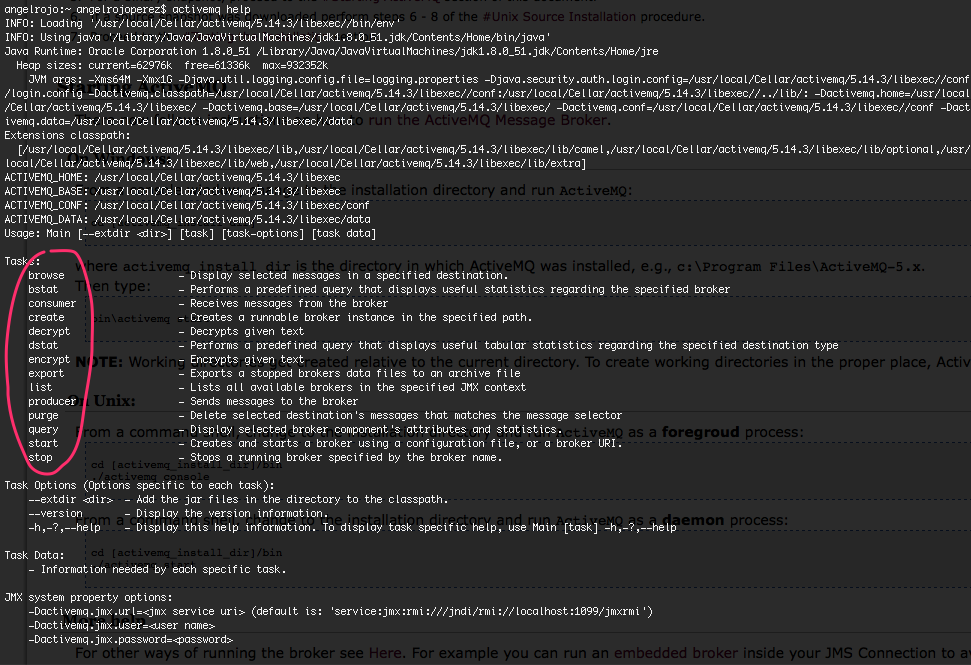
The ActiveMQ help
activemq help
Configuration and boot
- We start the server or broker to send JMS messages
activemq start
Access to the administration web console
Note: Link to the ActiveMQ documentacion for the activation of Stomp (for localhost and this latest version of ActiveMQ no need to edit the xml file)
- We created an initial logstash configuration file with the stom input. Later we will add functionality to logstash to parse messages
input {
     stomp {
        host => "localhost"
        destination => "JmsQueue"
    }
}
output {
     stdout { codec => rubydebug }
}
- Running Logstash
logstash -f logstash-jms-pipeline.conf --config.reload.automatic

Once we start Logstash a queue is automatically created in ActiveMQ and a stomp connection
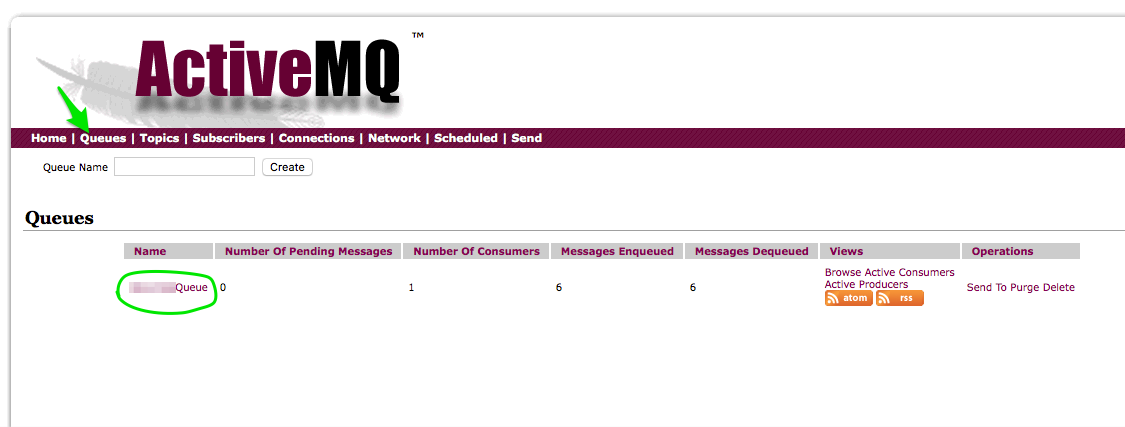

- Send a message to that queue We can use the ActiveMQ administration console
Mensaje IN:: GET /?tfno=0000026B124C5&texto=SDES051020401001126B124C50011606101158E1288612%23XTN005880NNNICE1EDK6ANUSMFFF00010000%2123A1&pais=ESP&host=radius06v&op=ORANGES&user=81349513&err=... HTTP/1.0>

As we click on the Send button we get the output in Logstash

- Finally, stop the broker
activemq stop

Next steps
To implement a real case, we will have to connect to your JMS server. Therefore, we will have to use the JMS pluging of Logstash.
For this you have to configure a jms.yml file.
